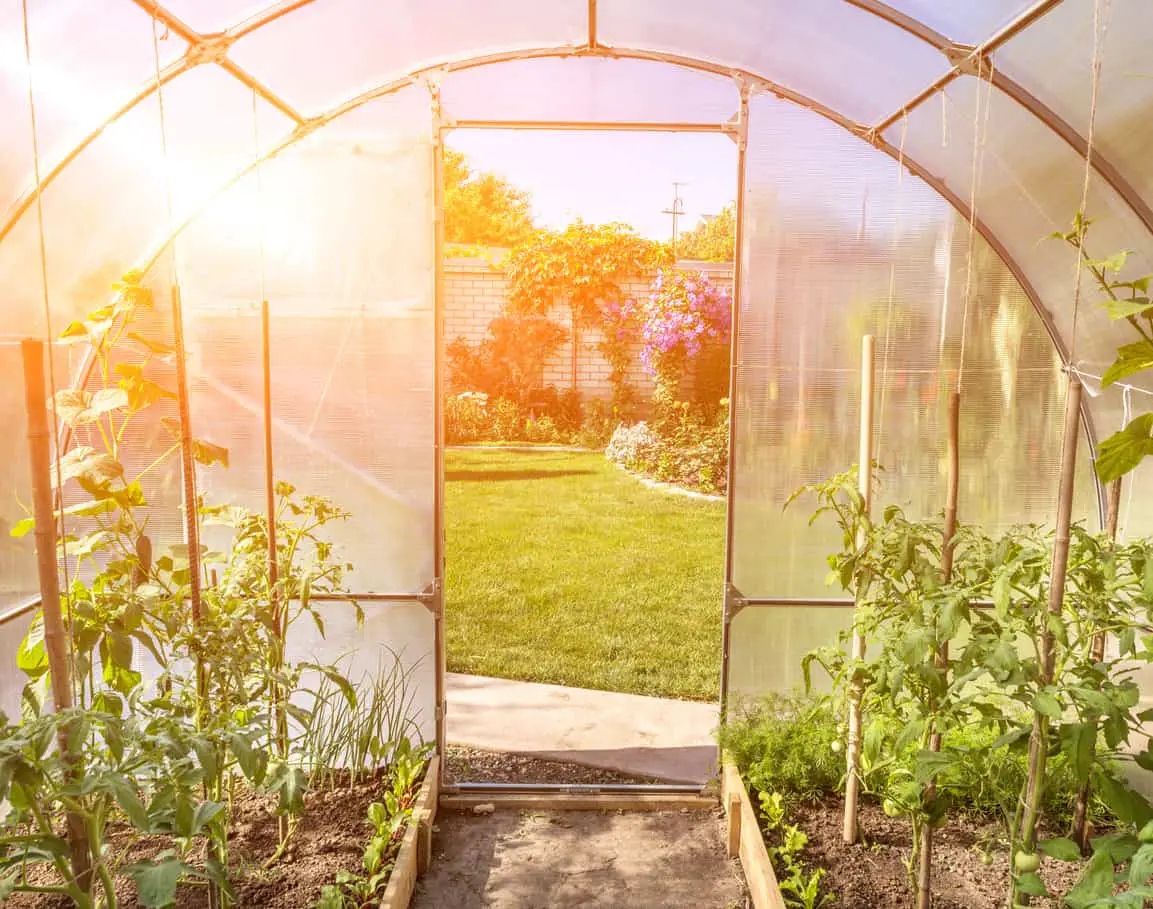
Everyone loves a good DIY project now and then, and this one is for the ambitious and especially creative. Creating a greenhouse out of your garage can be very beneficial to the planet as well as your lifestyle. The steps to getting fresh produce right outside your door involve some elbow grease, but beneficial in the long run.
There are four simple steps to converting your garage into a garage. Let’s take a look at those steps and the process:
The 4 basic steps to making a greenhouse out of your garage include:
- Installing a water drainage system so that there isn’t any water damage
- Installing decorative tiles to protect the floor
- Installing glass windows to allow as much sunlight in as possible
- Insulating the remaining walls to keep the area warm
1. Installing the Water Drainage System
It’s a good idea to have a water drainage system installed in case one of these events happens.
- There’s excess water that doesn’t make it into plant pots or gardening pallets
- It will help prevent the greenhouse from getting any water damage
- Keep your greenhouse clean
The first step to installing a water drainage system is to decide where to dig the trench.
- Make sure there aren’t any existing gas, water, or other utility pipes on or near the spot you have chosen.
- If one of these pipes happens to burst, it’s going to wreak havoc on your garage, and it’ll take longer to complete the greenhouse project. You can make sure there isn’t any risk of this by dialing 811 and double checking.
After you’ve gotten the all clear:
- Get the right tools for starting to dig the trench. Most garage floors are made out of concrete, which can be difficult to break through if you don’t have the right tools.
- You’re going to need either a jackhammer or a concrete saw to cut through that. Or, if it’s proving to be especially difficult, you might need both.
- To start digging the actual trench, get a high grade, strong shovel.
Next, you’ll need to dig a trench from the spot where the drain will start to where it exits the building.
- It’s recommended it go into your front or back yard. This way, you can reuse water and keep your lawns green and watered. If you can’t do that, then try to keep the ending of the trench as far away from any neighboring houses as possible.
- A deep enough trench is one where you can stick a U or L shaped pipe in it and the edges of the trench reach a little past the top of the pipe.
- Once the trenches are dug, set the pipes along it one by one, making sure that they slightly slant downwards so the water will do what gravity tells it to.
- Lay pipe all along the trench until your entire drain trench is covered.
- Finally, install the drain grate and replace the flooring. A concrete mix you can buy from any hardware store should do the trick. Once it’s mixed, lay a little down at a time with a trowel and spread it until it’s even with the existing concrete surface.
- If you ended up having to dig your pipe outside, cover it back up with the dirt you shoveled up and pat it down until it’s firm.
2. Laying Down the Tiles
After finishing the drainpipe installation, a good idea to start with the tiles first since it will give you a good foundation to build the rest of your greenhouse on. The first step is to make sure you have a clean floor to lay the tile on. If you haven’t already, clean out your garage. Make sure you get absolutely everything you can out and stored away, especially off the floor. Do a quick sweep of the floor to make sure you have a clean workspace.
Before you start laying down tile, measure the area to make sure you have enough tile. A consultant at a hardware store can help you with this step. Just make sure that you measure your floor beforehand and they will recommend the amount of tile you should use. Next, make sure you have the right materials. The materials you’ll want to have ready include:
- Rubber gloves
- Safety glasses
- Spray bottles with water or a cleaning solution
- Knee pads
- Trowel
- Package of thin set mortar
- Sponges
- The tiles you chose
After you make sure you have all of your materials, prep the space.
- Aside from making sure its clean and it will support the tiles you’ve chosen, make sure there aren’t any dips or cracks in the floor that can make it uneven. There’s also a guide for how to do that, and it will make sure your tile installs properly.
- Next, mix together your thin set mortar by following the instructions on the package.
- Spread the mortar out with a trowel so that it’s evenly distributed and not too thick.
- Finally, gently lay the tiles down one by one. Make sure that they line up and are level with each other so that the ground is smooth to walk on and level enough to hold furniture if so you desire. Once you come up to the edge where the walls meet the floors, you’ll want to use a tile cutter to get the right shape.
- Once you finish following those instructions, let the entire floor dry for about a day before you continue your project.
3. Installing Glass Windows
To make sure your plants get the proper amount of sun, it’s recommended to install tall windows that are made out of glass, stretching from the floor to the ceiling if possible. If you’re able to, it’s also recommended to install a skylight. But first, the method to install glass windows is a little more complicated, but not impossible.
First, you’ll need a lot more tools to complete this job. The list of installation tools includes:
- A drill with a screwdriver bit
- Handsaw
- Stapler and staples
- Framing square
- Hammer and nails set
- Measuring Tape
- Flat pry bar or crowbar
- Stud finder
- Plywood
- 2x2s, 2x4s or 2x6s cleats for framing, depending on how big you want the windows
Before you start, prep the space where you want your window. Place old clothes or towels on the floor so that any wood shavings get caught and are easy to clean up. You can also use this method to make sure your screws, staples, or other small pieces of equipment are easily identifiable. Close all doors and cover the space underneath with a thick towel to prevent dust from getting in. Another method of this is to place a fan near your workspace, put it on low and point it outward, so the dust goes away from your workspace.
Next, examine the studs you have. Usually, an existing wall stud is used as the main supporting stud on one side, and a 2×2 or 2×4 cleat is attached to the stud on the other side of a window to provide a surface for the nail to go through. This also makes patching up the drywall after the window is installed easier, since there aren’t any gigantic holes that need to be covered.
Then, all you have to do to finish framing it is:
- Place the studs in the most likely places you’ll put them
- Mark the spots where you put the studs with a pencil or marker
- Install the studs. Place a pair of studs on the edges of two short planks of plywood that are the same height.
- Drill them in, and place those where you want the bottom edge of the window to end, to set your foundation.
After you have a general idea of the windows foundation, use a pencil or a marker to mark how wide and tall you want the window to be. This is where you’ll want to use the measuring tape and the framing square. Measure the distance between the top marking of the window and the bottom. Make sure the measurements of each side are even and take note of how long they are. They will help you remember how much wood you need. The framing square is used to make sure the wood will line up and connect correctly at the corners.
The process for installing a skylight is fairly similar, but it still has different instructions. You’ll want to pick a spot somewhat in the center of the greenhouse roof so that there’s always a little bit of light shining through onto the plants.
Once you’ve picked a spot, the first step to installing a skylight is to:
- Cut and frame an opening. Starting from the inside of the greenhouse, drill a hole where you want the center of the skylight to be.
- Then work your way onto the roof and cut the marked opening with a circular saw.
- Support the ends of the roof rafters with strong beams or bricks before cutting and removing them.
The next step is installing something called joists. A joist is a supporting length of wood or steel arranged in a parallel formation. They’re usually meant to support ceilings and roofs, but are just as good at supporting skylights. The first joists you’ll want to install are everywhere on the skylight frame except the top of it. Typically referred to as the “header”, the top of the skylight will be the main line of support aside from the roof itself.
After you install all of the supporting joists, install header joists perpendicular to the rest of the joists on the frame. If the skylight happens to be mounted above or near an attic, you’ll also need to repeat these steps for that space. You’ll need to cut and frame a second hole in the ceiling of the room below it, and frame a light shaft through the attic. This is why it’s strongly recommended that you double check the spot where you want to build your skylight, it could save you a few hours of work.
The next step is to cut back the roofing and attach the glass window part of the skylight. You can use a straightedge and a utility knife to cut away the roof tilings or the wood planks. You’ll want to cut them about three inches back from the skylight opening on all four sides. Once that’s done, carefully set the skylight in place on the frame. You might want to have someone else help you lower it to make sure it lines up with the frame you made.
Once you make sure the skylight is centered, secure it in place with nails or screws at each corner and on each side. You can also seal the skylight with a rubber paste or silicone tube to prevent rainwater or snow from getting into your greenhouse.
The last few steps are to secure the skylight to the roof. Drill the roofing nails horizontally into the skylight, rather than vertically into the roof. Finally, fit the steel beams around the frame to secure it all together. Attach the bottom piece first, and then the side pieces. The last step is to fit the top steel piece onto the skylight by slipping it under the roofing and attaching it to the skylight.
4. Insulating the Remaining Walls
The very last step in turning your garage into a greenhouse is to insulate the walls that don’t have windows on them. Insulating your greenhouse will help keep your plants protected from the cold and keep them from dying because of the temperature drops.
Before installing insulation, there are a few things you need to do to prepare. First, check your local building code for the insulation level that’s recommended for your area. Each one will be different depending on how cold it gets during the night and during winter time. You should also check if there are any vapor barrier requirements that apply to your area.
Next, seal any cracks or gaps that allow unconditioned air into the greenhouse. You can seal them with a rubber seal or a concrete mixture depending on what you prefer. While you’re sealing everything, pay attention to areas where plumbing or wiring are located. You’ll want to take note of these so that they don’t get damaged while you’re installing the insulation. It’s also recommended that you check for any cracks or gaps in the floor, but that already would’ve been done while you were tiling the floor.
The last preparation step is to measure between the studs and find the correct width for the insulation. This will help you get the right amount of insulation, and the right thickness for the walls.
After you’re all prepared, the first step is choosing the right type of insulation. The types of insulation include:
- Cellulose
- Fiberglass
- Rock wool
Cellulose is made out of tightly packed recycled paper that’s treated for fire resistance. Fiberglass is probably the most common one, as it’s the cheapest and doesn’t irritate the skin or the lungs. Lastly, rock wool is made from spun or drawn fibers from molten materials. Consult with a hardware or construction professional to find out which insulation type is the best for your greenhouse.
Next, insert the insulation.
- Cut the insulation so that it fits snugly into the wall.
- Place the insulation into the wall by gently packing and tucking the insulation into the wall cavities until it reaches the thickness you need.
- Make sure it is as tightly packed as possible and that airflow is restricted with no gaps.
- Once you’re satisfied with its thickness and how tightly packed it is, staple it into place.
- It’s recommended that you use a stapler gun to secure the insulation in place, as they are more durable and will hold up against the thick material.
The final step with installing insulation is to finish it with a vapor barrier. A vapor barrier is something that can control moisture in the air, such as excess rain or humidity. You’ll especially want to make sure that you do this step since the greenhouse will more often than not already have water in it because of the plants.
You can install a vapor barrier in pretty much the same way as installing insulation. The only difference is that it shouldn’t be as thick of a layer since that could just dry out the insulation faster.
Final Thoughts
After the steps above are completed, you have a solid greenhouse that is ready to nurture some plants. If you wish, you can also start customizing it with some personal touches. These can include:
- Choosing a special paint color
- Decorations, like gnomes and fountains
- Having a special sign be made
- Anything else to personalize
As long as you have successfully completed the four basic steps, you should be able to start growing your own fresh produce in no time.